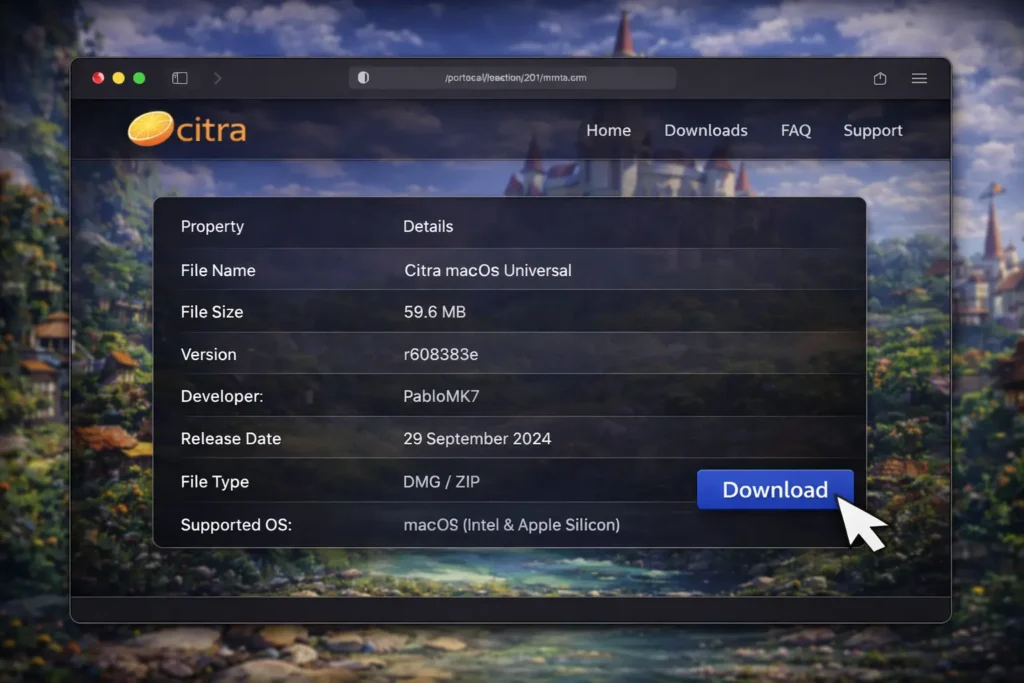
Download Citra Emulator for Mac
|
Property |
Details |
|---|---|
|
File Name |
Citra macOS Universal |
|
File Size |
59.7 MB |
|
Version |
2104 Nightly |
|
Developer |
Citra Team |
|
Release Date |
4 March 2024 |
|
File Type |
DMG / ZIP |
|
Supported OS |
macOS (Intel & Apple Silicon) |
|
Download |
System Requirements for Citra on macOS
Citra Emulator runs smoothly on macOS with the right system requirements in place. Check the minimum and recommended specs below to ensure the best performance and stable gameplay on your Mac.
How to Download and Install Citra Emulator on Mac?
Follow the steps below to download and install Citra Emulator on your Mac without any issues. The process is simple and works on both Intel and Apple Silicon Macs.
Step 1: Download Citra for macOS
Click the Download Citra Emulator for Mac button on this page to start the download. The file will be saved to your Mac as a DMG or ZIP file.
Step 2: Open the Downloaded File
After the download finishes, open the file from your Downloads folder. The Citra application will appear, ready to be installed.

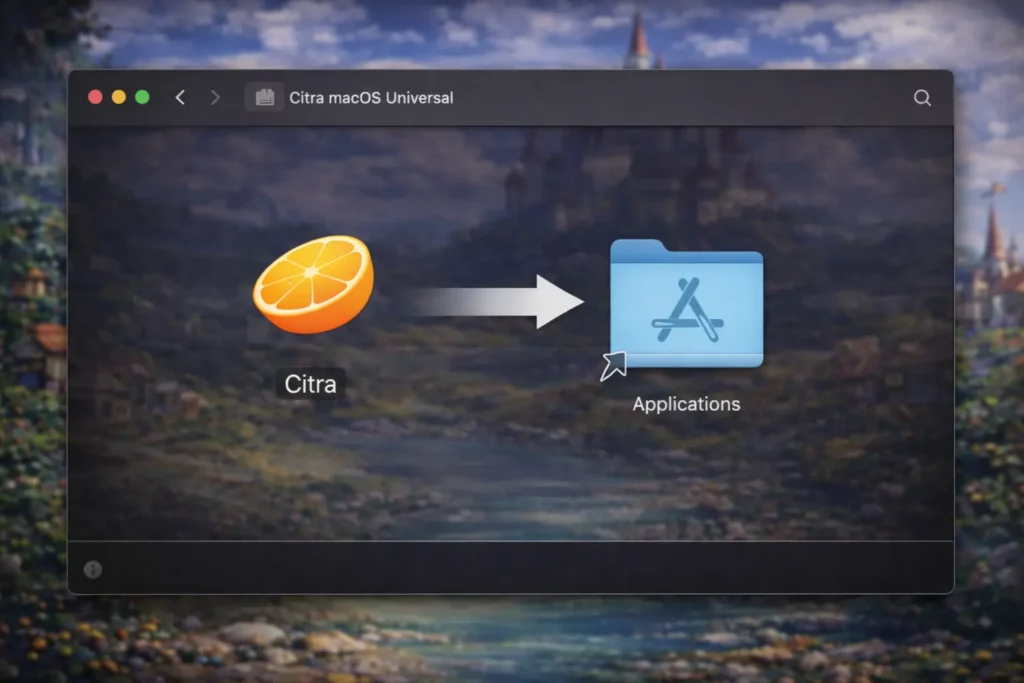
Step 3: Move Citra to the Applications Folder
Drag the Citra app into the Applications folder when prompted. This installs Citra correctly and allows macOS to recognize it as a trusted app.
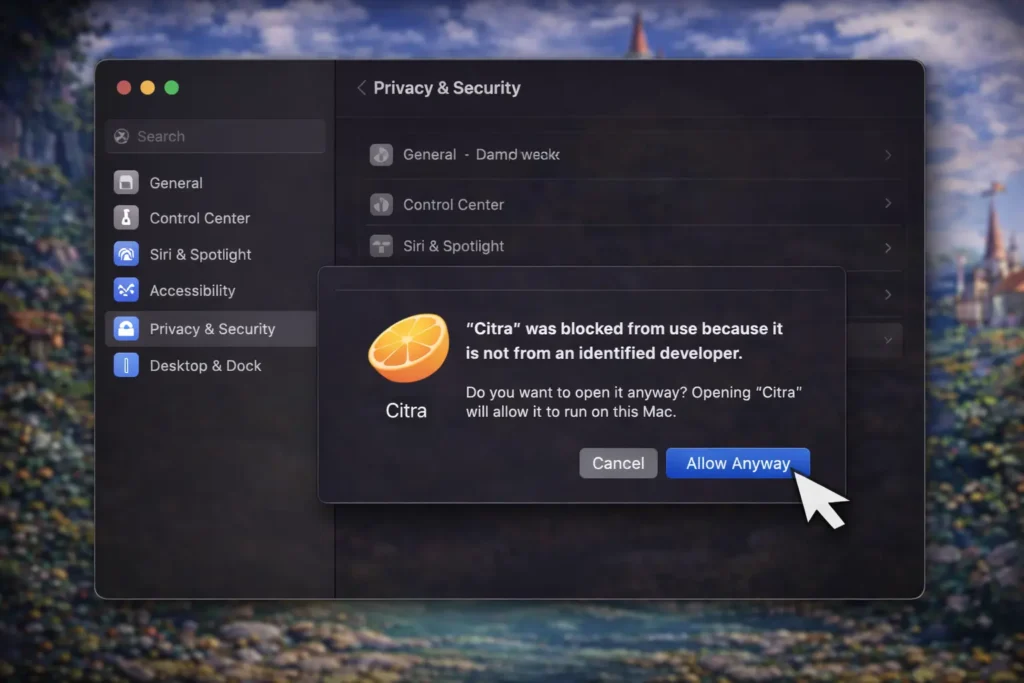
Step 4: Allow macOS Security Permissions
If macOS blocks Citra, go to System Settings → Privacy & Security and click Allow Anyway. This is a standard macOS security step for apps downloaded outside the App Store.
Step 5: Launch Citra Emulator
Open Citra from the Applications folder or Launchpad. The emulator will launch successfully and is now ready to use.

Why Does macOS Say “App Can’t Be Opened” for Citra?
macOS may block Citra the first time you try to open it because it was downloaded from the internet. This happens due to Gatekeeper, a built-in macOS security feature.
How Do You Allow Citra from macOS Security & Privacy?
- Try opening Citra once and close the warning message.
- Open System Settings → Privacy & Security.
- Scroll down and click Allow Anyway next to Citra.
- Open Citra again and confirm when prompted.
After this, Citra will open normally without further warnings.
Does This Affect Apple Silicon Macs (M1, M2, M3)?
Yes, Apple Silicon Macs may show this message more often due to stricter security checks. Once allowed from Privacy & Security, Citra works smoothly on M-series Macs.
How to Build Citra from Source on macOS (Advanced Users Only)
Building Citra from source on macOS is intended for developers and advanced users. Most users should use the prebuilt macOS version instead
What You Need
- Xcode: Required for compiling and command-line build tools on macOS
- CMake: Used to generate build files
- Citra Source Code: Latest or older version, depending on your needs
High-Level Build Steps
- Download and extract the Citra source code to a local folder on your Mac, preferably using a simple path without special characters. This folder will contain all the files needed for the build process.
- Install Xcode and accept the command-line tools when prompted, as they are required for compiling software on macOS. Without these tools, the build process will not start.
- Open CMake and select the source and build folders, choosing the extracted Citra source folder as the source and a separate empty folder as the build directory.
- Generate the build files for macOS using CMake, allowing it to prepare the project files required for compilation.
- Compile Citra using the generated project files, which will create the final Citra application once the process completes successfully.
Important Notes
- Building Citra from source may require manual troubleshooting if errors occur during the process.
- Build time and performance depend on your Mac’s hardware, especially CPU power and available RAM.
- This method is intended for advanced users and is not recommended for beginners or casual users.
Difference Between Citra for Mac vs Windows
Both macOS and Windows support Citra, but performance and features can vary depending on hardware and system optimization. The table below shows a quick comparison to help you choose the best platform.
| Feature | macOS | Windows |
|---|---|---|
| Performance | Good on Apple Silicon, moderate on Intel Macs | Generally higher on most PCs |
| Graphics | Metal-based rendering, stable | More graphics backend options |
| Stability | Stable with occasional macOS limits | Very stable with wide compatibility |
| Controller Support | Supported via Bluetooth and USB | Full support for most controllers |
For detailed setup and performance tips, see the Citra for Windows Page.
Conclusion
Citra Emulator runs well on macOS when installed and configured correctly, especially on Apple Silicon Macs. Whether you use the prebuilt version for quick setup or explore advanced options like source builds, this guide covers everything needed for a smooth 3DS emulation experience on Mac.